
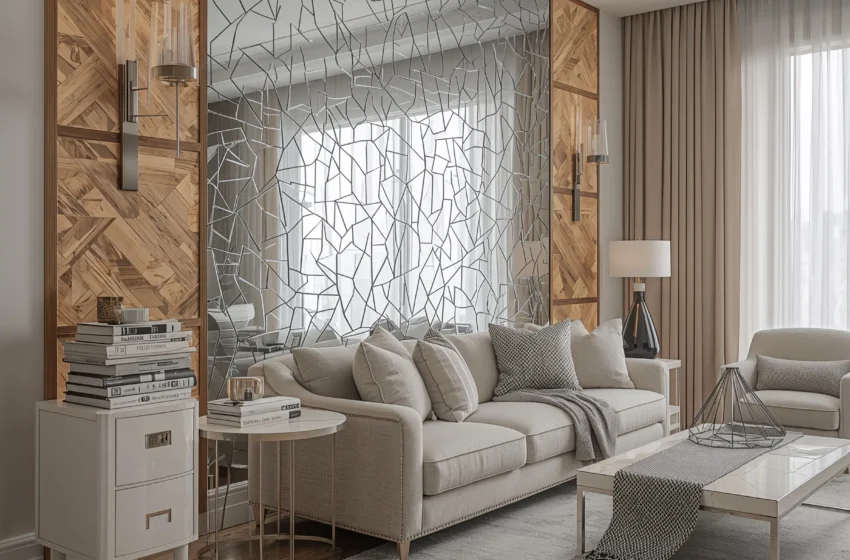
Blank walls have a way of making an otherwise nice room feel unfinished. You move into a space, get the furniture arranged just right, add a rug and some plants — and then you look up at the walls and realize they are doing absolutely nothing. They are not ugly. They are not offensive. They are just… empty. And that emptiness undercuts everything else you have put into the room.
The instinctive response is to go shopping. Browse wall art online, scan the home sections at stores, look at prints on Etsy. And there is nothing wrong with that — but it can get expensive fast, particularly when you factor in frames, shipping, and the reality that mass-produced art often ends up looking mass-produced, regardless of how nice the image is.
DIY wall decor offers a genuinely compelling alternative. Not because it is always cheaper (though it usually is), and not because homemade things are always better (though they can be). But because when you make something yourself — even something simple — it carries a quality that no store-bought piece can replicate: it is yours, entirely, in a way that nothing off a shelf ever quite is.
1. Create Your Own Abstract Canvas Art
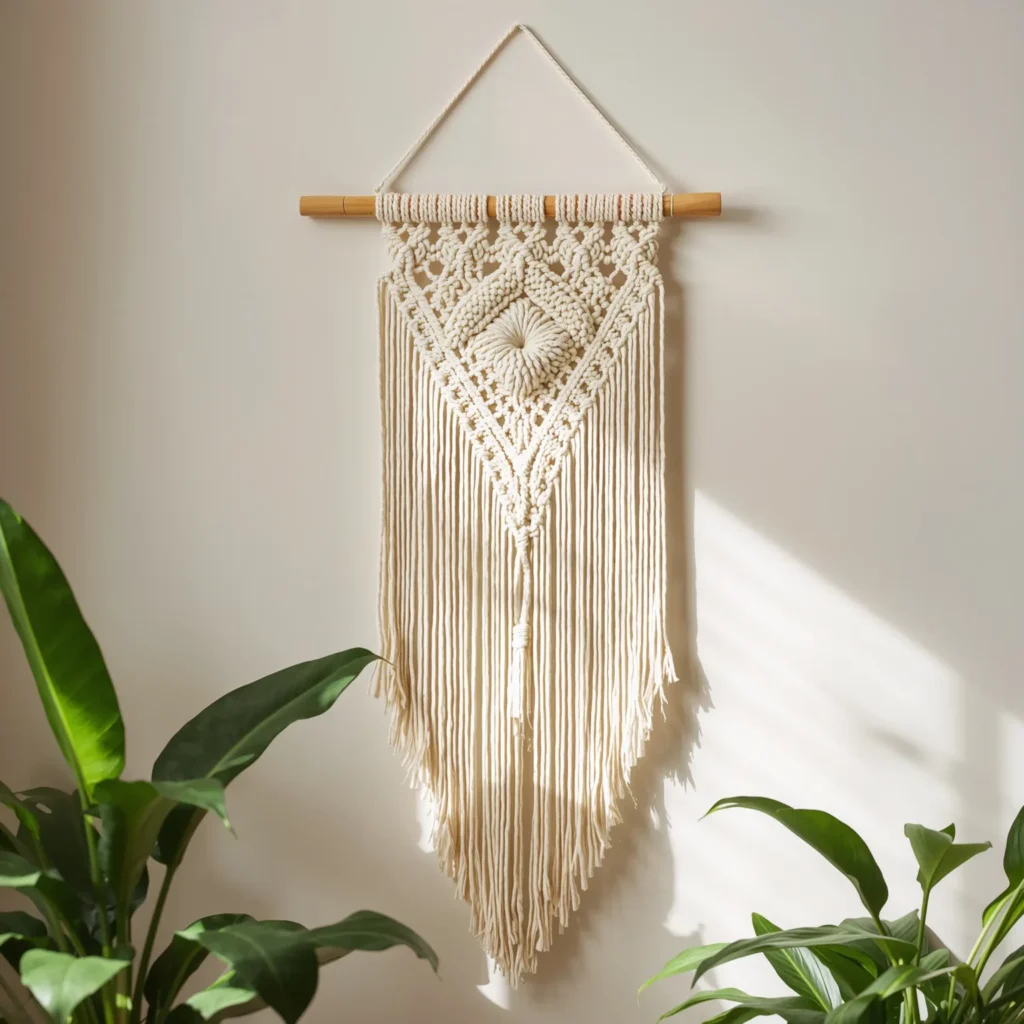
Abstract art is intimidating until you realize the rule: there are no rules. There is no correct interpretation, no wrong color combination, no failure state — only choices. And that freedom is exactly what makes it such a perfect starting point for DIY wall decor.
A large abstract canvas does more for a room than almost any other single piece. It adds color, movement, and visual energy. It fills space with confidence. And when you make it yourself, it fits the room perfectly because you are pulling colors directly from the space around you.
What You Need
- A stretched canvas (available at any craft store or online — go larger than you think: 24×36 inches is a good starting size for a living room)
- Acrylic paint in three to five colors that work with your room’s palette
- A wide flat brush, a palette knife, and a sea sponge or old rag
- A cup of water and paper towels
- An old sheet or drop cloth to protect the floor
How to Do It
- Lay the canvas flat on the drop cloth. Mix your lightest color with a small amount of water to thin it slightly, then brush it loosely across the canvas — not covering everything, leaving some bare canvas showing.
- While the first layer is still wet, add your second color in broad strokes using the palette knife. Drag and swipe the paint rather than brushing it, which creates interesting texture and blending.
- Add your accent colors in smaller amounts — dab with the sponge, drag with the knife, or brush loosely. Step back frequently to assess the composition from a distance.
- Let it dry partially, then decide if it needs more. It almost always looks better with restraint — stop before you think you are done and let the canvas breathe.
- Once fully dry, hang it and live with it for a day before deciding if it needs anything else.
Pro Tip: Work with the canvas on the floor rather than propped upright — gravity helps paints blend naturally and prevents drips from ruining the composition while you work.
2. Build a DIY Gallery Wall
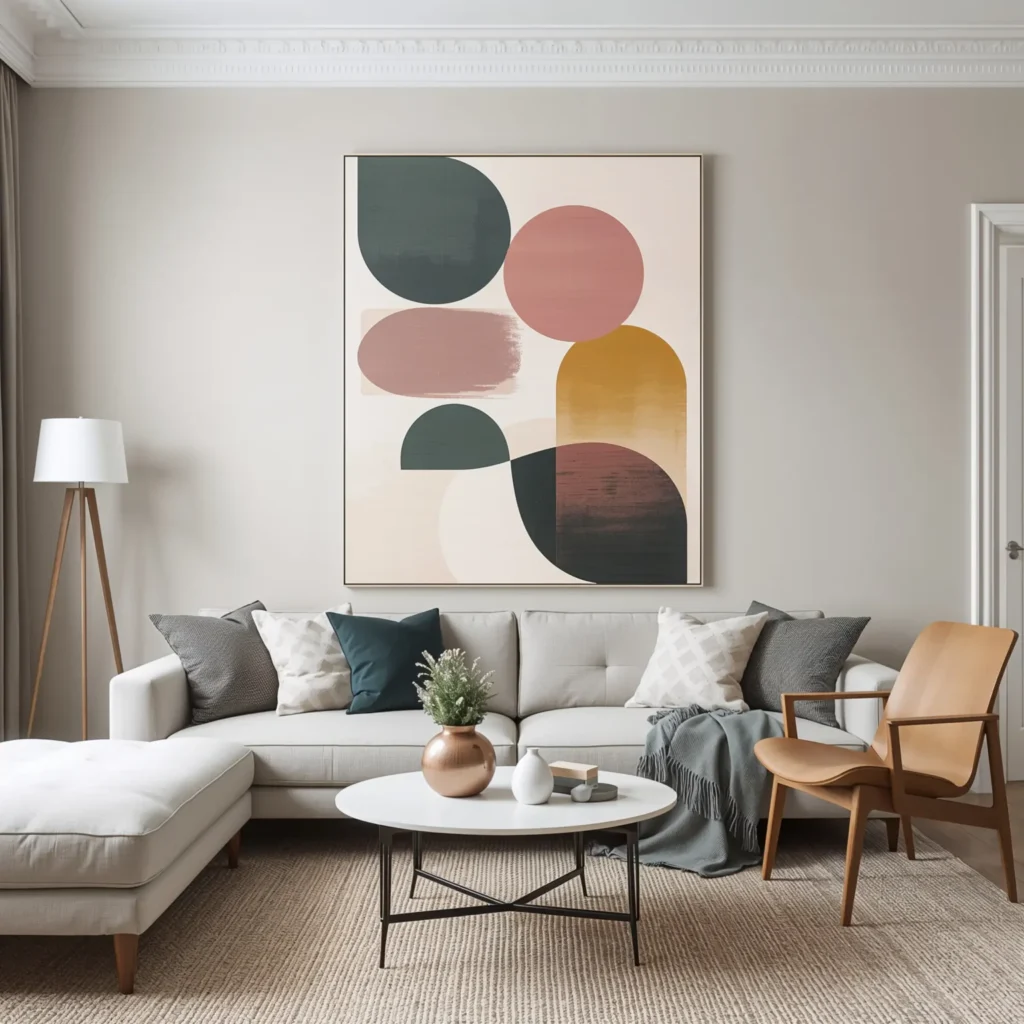
A gallery wall is one of the most versatile and personal wall decor projects you can undertake. Done well, it transforms a flat wall into a layered display of images, objects, and memories that tells something real about the person who lives there. Done poorly, it looks like a yard sale. The difference is almost entirely in the planning.
The best gallery walls are assembled over time from a mix of sources: thrift store finds, printed photos, downloaded artwork, postcards, small objects. Do not try to buy everything at once — the collected quality is part of what makes a gallery wall look genuine rather than designed.
Planning Your Gallery Wall
- Gather your candidate pieces — aim for at least 8 to 12 items of varying sizes for a meaningful wall
- Choose a unifying element: matching frame color (all black, all white, all natural wood), or a consistent subject matter, or a limited color palette within the art itself
- Lay everything on the floor and photograph it from above to preview the arrangement without touching the wall
- Cut paper templates in the exact size of each frame and tape them to the wall with painter’s tape — step back and adjust until the composition feels balanced
- Hang from the center outward, checking level frequently and keeping spacing between frames consistent (2 to 3 inches is the standard)
Pro Tip: Mix flat framed pieces with small three-dimensional objects — a small shelf, a ceramic piece, a decorative hook — to add depth and make the arrangement feel genuinely layered rather than simply a grid of frames.
3. Make a Macramé Wall Hanging
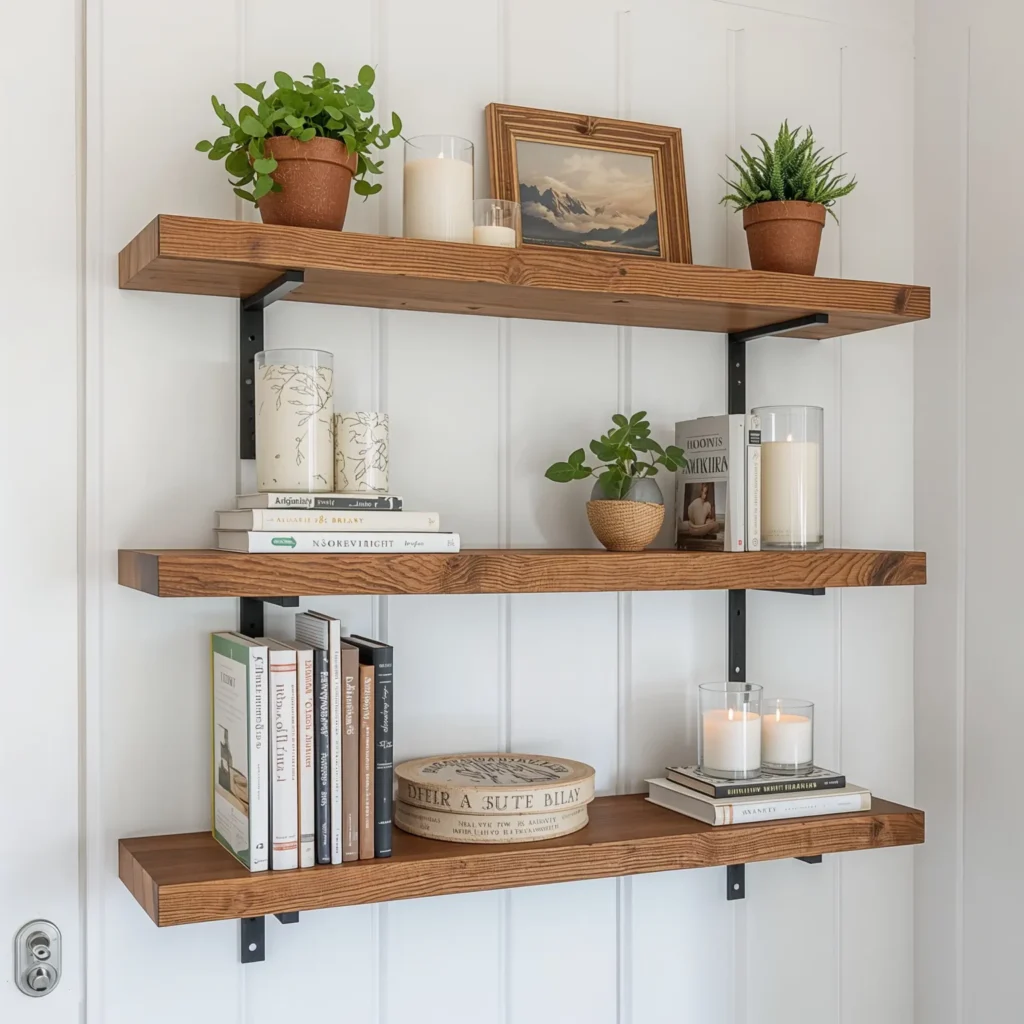
Macramé is having a sustained cultural moment, and for good reason. A well-made macramé wall hanging brings texture, warmth, and natural material richness to a wall in a way that no flat artwork can replicate. The knotting process is meditative, the materials are inexpensive, and the result is genuinely impressive.
The two knots you need to know for most beginner-to-intermediate macramé projects are the square knot and the half hitch. Learn these two, and you can make almost anything.
What You Need
- Single-strand cotton macramé cord (3mm to 5mm thickness is ideal for beginners — softer and easier to knot than jute)
- A wooden dowel rod, driftwood piece, or copper pipe for hanging (around 18 to 24 inches wide)
- Scissors
- A comb or stiff brush for fringing the cord ends
- A tape measure
Basic Process
- Cut your cord into lengths roughly four times the desired finished length of your hanging. For a 24-inch piece, cut cords to approximately 96 inches each.
- Fold each cord in half and attach it to the dowel with a lark’s head knot — the most basic macramé attachment.
- Work your chosen knot pattern down the length of the cords. Square knots create a flat, geometric texture; alternating half hitches create a more diagonal, open pattern.
- Finish the bottom by leaving the cord ends loose and fringing them with the comb for a soft, feathery effect — the most popular macramé finish.
- Trim the fringe to a V-shape, a straight line, or an organic uneven cut, depending on your preference.
Pro Tip: Hang your work on a tension rod or hook while you knot — working on a hanging piece gives you a much better sense of how the finished piece will look than knotting on a flat surface.
4. Style a Set of DIY Floating Shelves
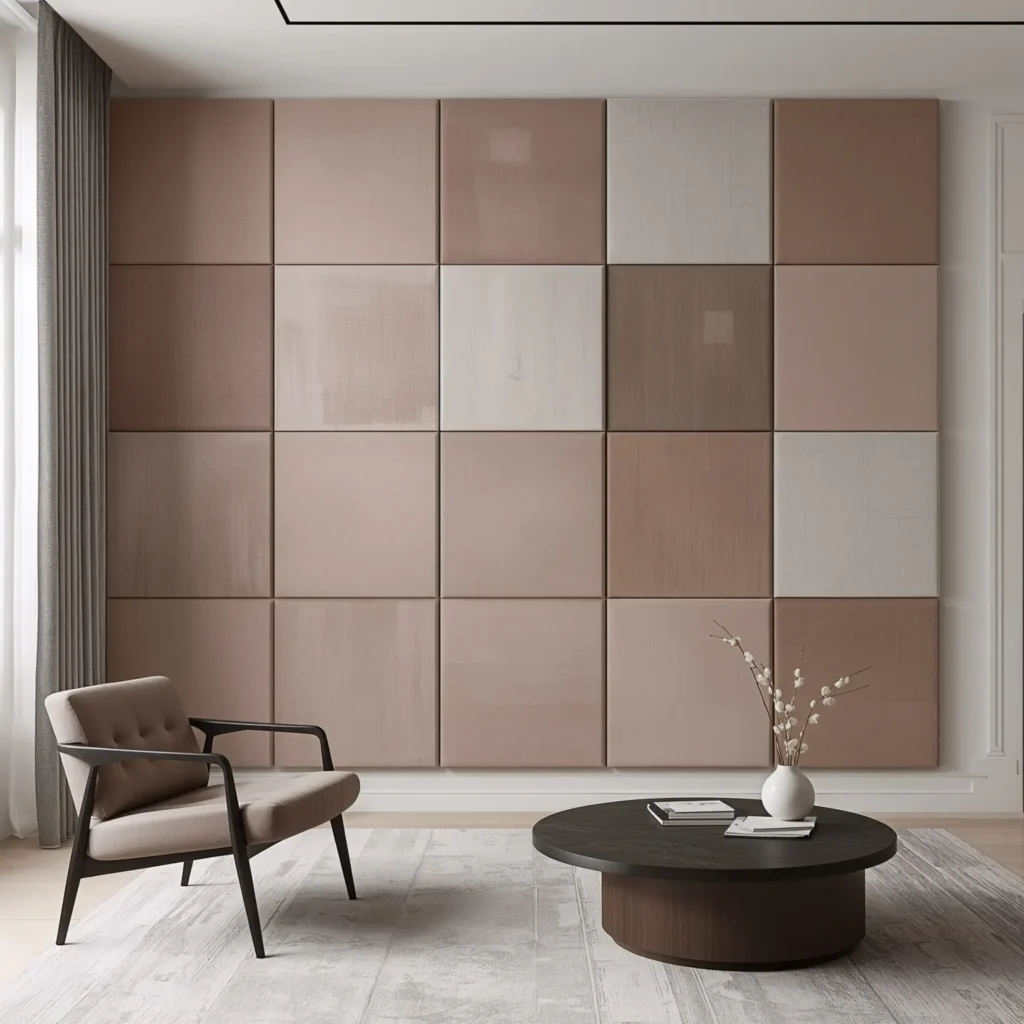
Floating shelves sit at the intersection of decoration and function, which is part of what makes them such satisfying wall decor projects. They give you a surface to display books, plants, ceramics, candles, and objects you love — while filling wall space in a way that feels intentional and layered.
You can purchase pre-made floating shelf kits from any hardware store, or cut your own from a length of pine, oak, or walnut board. The latter gives you complete control over width, depth, and finish — and costs about the same or less.
Styling Your Floating Shelves
- Follow the rule of odd numbers — group items in threes or fives rather than twos or fours
- Vary heights: a tall book beside a short candle beside a medium plant creates visual rhythm
- Mix materials: wood, ceramic, glass, metal, and natural fibers together feel richer than a single material
- Include at least one living element per shelf: a small plant, fresh flowers, or a trailing vine
- Leave deliberate negative space — a shelf that is too crowded loses its elegance. Aim to leave roughly 20 percent of the shelf surface empty
Pro Tip: Use the stud finder before mounting anything. Floating shelves anchored into studs can hold meaningful weight; shelves anchored only in drywall with standard anchors are limited and prone to failure over time.
5. Weave a Yarn Wall Art Piece
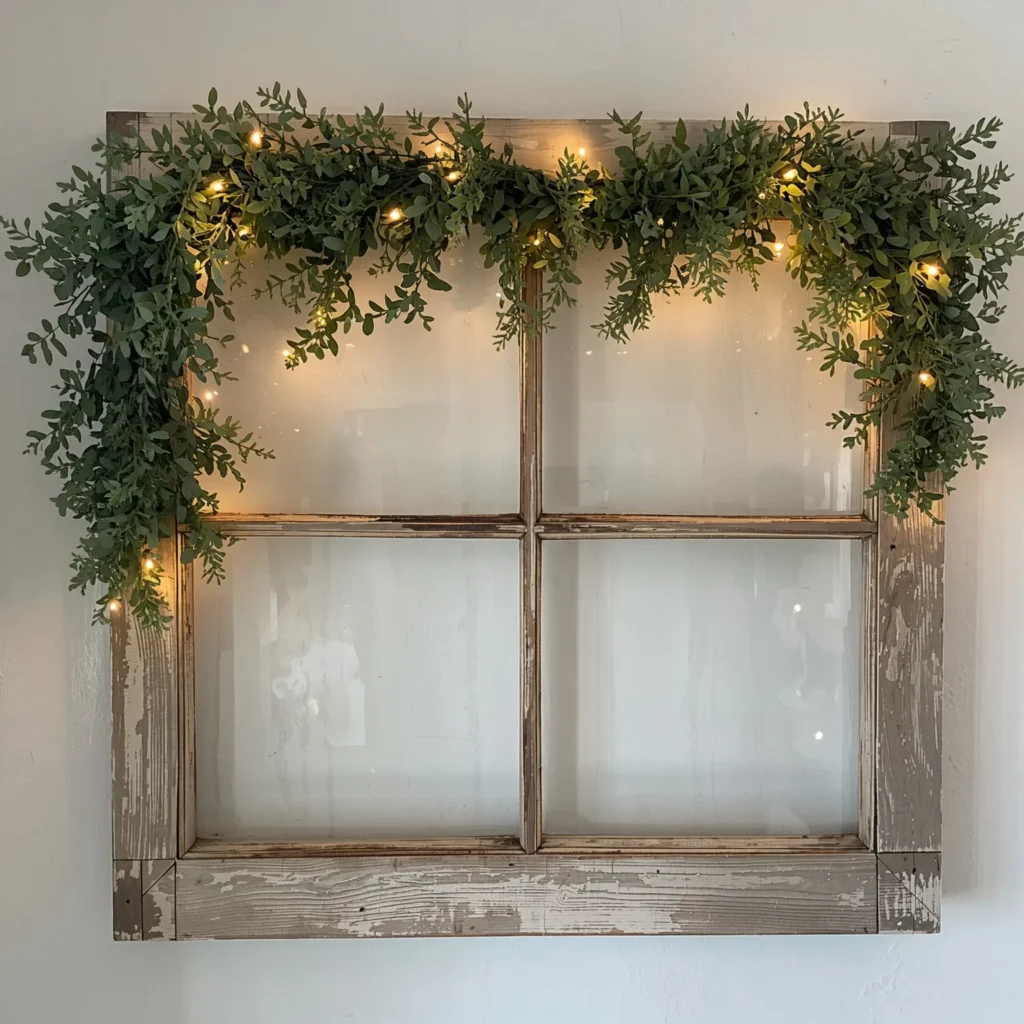
Woven wall art — a textile piece made on a simple frame loom using yarn, ribbon, roving, and other fiber materials — brings a richness of texture and color to a wall that few other DIY projects can match. It is also genuinely beginner-friendly: the basic weaving pattern (over-under, over-under) takes about five minutes to learn.
The most appealing woven pieces combine multiple yarn weights, textures, and colors within a single piece. Chunky wool roving beside thin metallic thread beside a textured boucle yarn creates a surface that rewards close examination and catches light in interesting ways throughout the day.
Getting Started
- Build or buy a simple rectangular frame loom — a canvas stretcher bar from an art supply store works perfectly
- String the warp threads (the vertical threads that form the structure) tightly from top to bottom using cotton string or thin twine
- Weave horizontal weft threads over and under the warp threads using a tapestry needle or your fingers
- Change yarn colors and textures freely — the variation is part of the beauty
- Finish the top edge by folding over a piece of dowel and securing it, then hang the dowel on the wall
Pro Tip: Alternate between tight, dense weaving sections and loose, airy sections — the contrast between solid and open areas creates visual depth that keeps the piece interesting.
6. Create a Geometric Tape Design
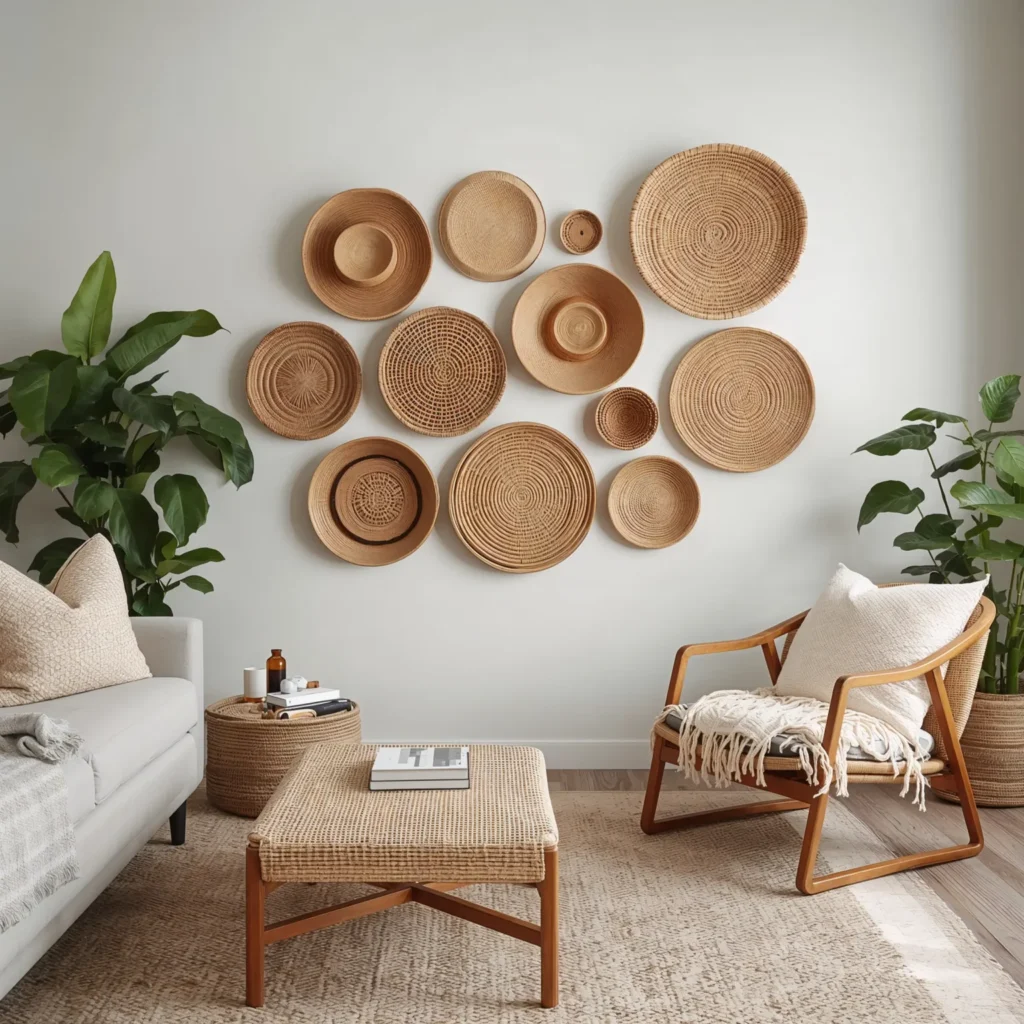
Painter’s tape or washi tape used on a wall is one of the most underrated DIY wall decor ideas. With a roll of tape, a level, and about an hour, you can create crisp geometric patterns — chevrons, triangles, diamonds, hexagons, abstract lines — that look like considered graphic design rather than a craft project.
The beauty of tape designs is that they are completely renter-friendly and completely reversible. Pull the tape off cleanly when you want a change, and the wall is exactly as you found it. For a more permanent version, apply tape to the wall, paint over it with wall paint in a contrasting color, let it dry, and peel the tape to reveal crisp geometric shapes.
Tips for Clean Results
- Use a level and pencil to mark reference lines before applying the tape — freehand geometric patterns almost always drift
- Press the tape edges firmly with a credit card or fingernail to prevent paint bleeding under the edges
- Apply the wall paint color over the tape edges before applying the design color — this seals the tape edges and guarantees a bleed-free result
- Peel the tape while the paint is still slightly wet, not fully dry — this prevents the paint film from lifting
- Work in sections for large walls rather than trying to map the entire design at once
Pro Tip: Use washi tape in decorative patterns (floral, striped, metallic) directly on the wall without paint for a temporary design that is beautiful in its own right — perfect for renters or those who want a seasonal change.
7. Press and Frame Botanicals
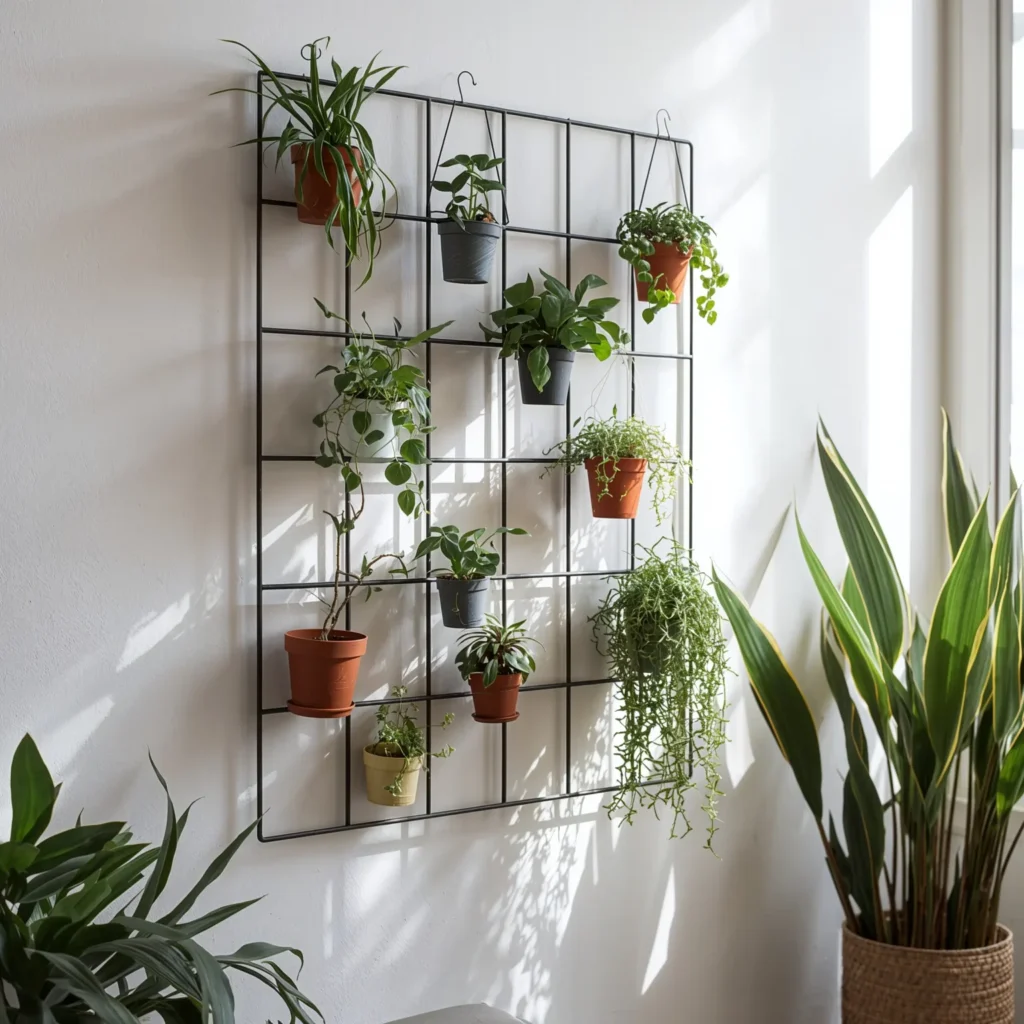
Pressed botanicals — flowers, leaves, ferns, and grasses pressed flat and mounted in frames — create wall art of extraordinary delicacy and beauty. The process is genuinely simple: collect plant material, press it flat under weight for two to three weeks, then mount and frame it. The result looks like something from a natural history museum or a high-end botanical print shop.
The best candidates for pressing are flat or semi-flat flowers with thin petals (pansies, violas, daisies, cosmos), delicate ferns, pressed leaves in autumn color, and interesting grasses and seed heads. Thicker flowers like roses press less cleanly and take much longer.
Step-by-Step Process
- Collect your plant material in the middle of the day when plants are least likely to be damp from morning dew
- Place the plants between sheets of parchment paper, then between the pages of a heavy book or a dedicated flower press
- Stack heavy books on top and leave for two to three weeks — the longer the better for fragile specimens
- Once fully dried and pressed, arrange your botanicals on acid-free card stock in a composition you like, then mount with a small amount of clear drying glue
- Frame behind glass and hang — group multiple frames for a botanical study series effect
Pro Tip: Label each pressed specimen with its common and Latin name using fine-point pen on the card stock — the labels add to the natural history aesthetic and make the pieces feel like genuine scientific specimens.
8. Stencil an Accent Wall
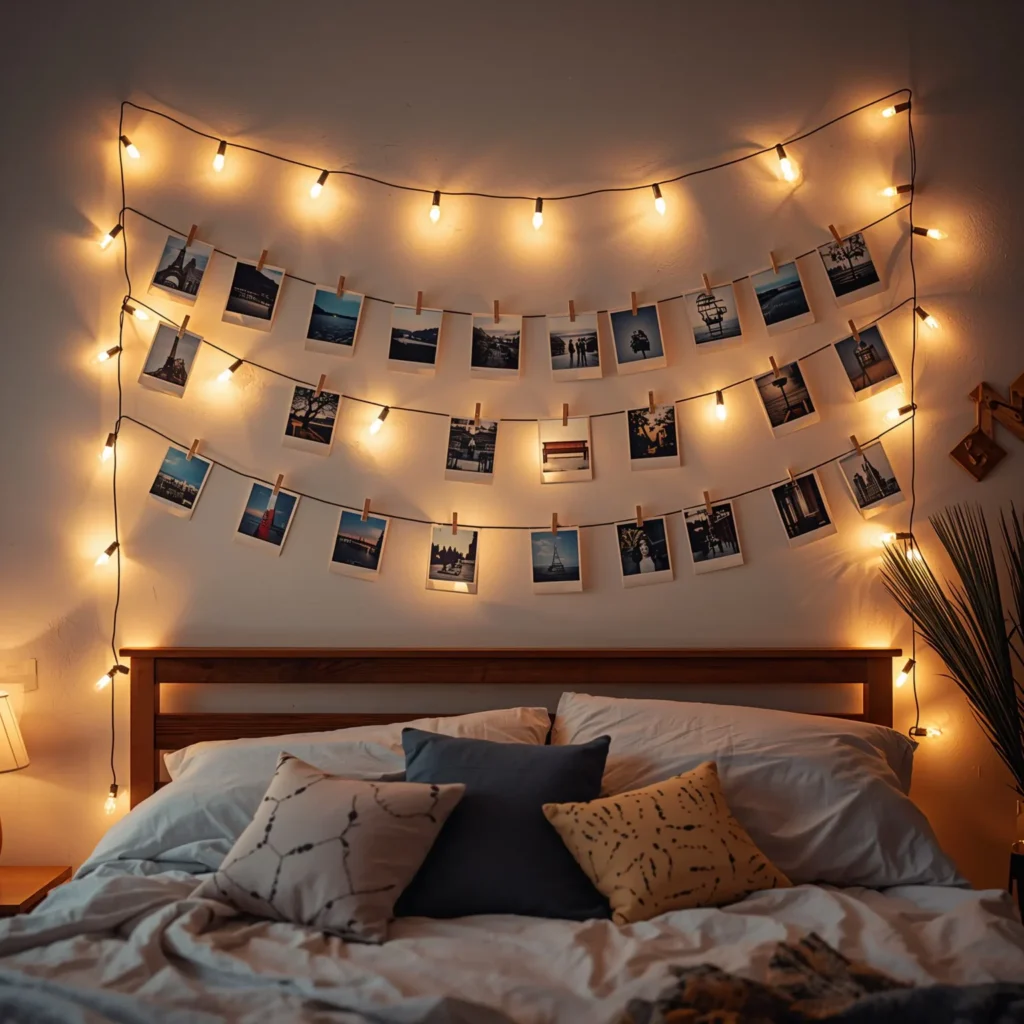
A stenciled wall gives you the look of wallpaper — intricate, repeating patterns across an entire surface — without the permanence, the cost, or the difficulty of actual wallpaper installation. With a good stencil, the right paint consistency, and a steady hand, the results can be genuinely stunning.
Modern stencil designs range from Moroccan-inspired geometric lattices to delicate botanical damasks to abstract brushstroke patterns. The technique works for borders, feature sections, or full wall coverage — and the same stencil can produce dramatically different effects depending on the colors and paint opacity you choose.
Keys to Professional-Looking Results
- Use a dense foam roller rather than a brush for the smoothest, most even application — brushes tend to push paint under the stencil edges
- Use very little paint on the roller — barely loaded, almost dry. This is called dry-brushing and it prevents bleed-through. You can always add more; you cannot fix bleeding.
- Use painter’s tape to hold the stencil firmly in place at each position
- Mark registration points on the stencil and the wall with small pencil dots so each repeat aligns precisely with the last
- Start from the center of the wall and work outward — this ensures the pattern is centered on the most visible part of the wall, with any cut-off portions at the edges where they are least noticeable
Pro Tip: Try the stencil in a tone-on-tone colorway first — the same color as the wall in a slightly lighter or darker shade. The result is subtle and sophisticated, adding pattern without the commitment of a full color change.
9. Make Wood Slice Wall Art
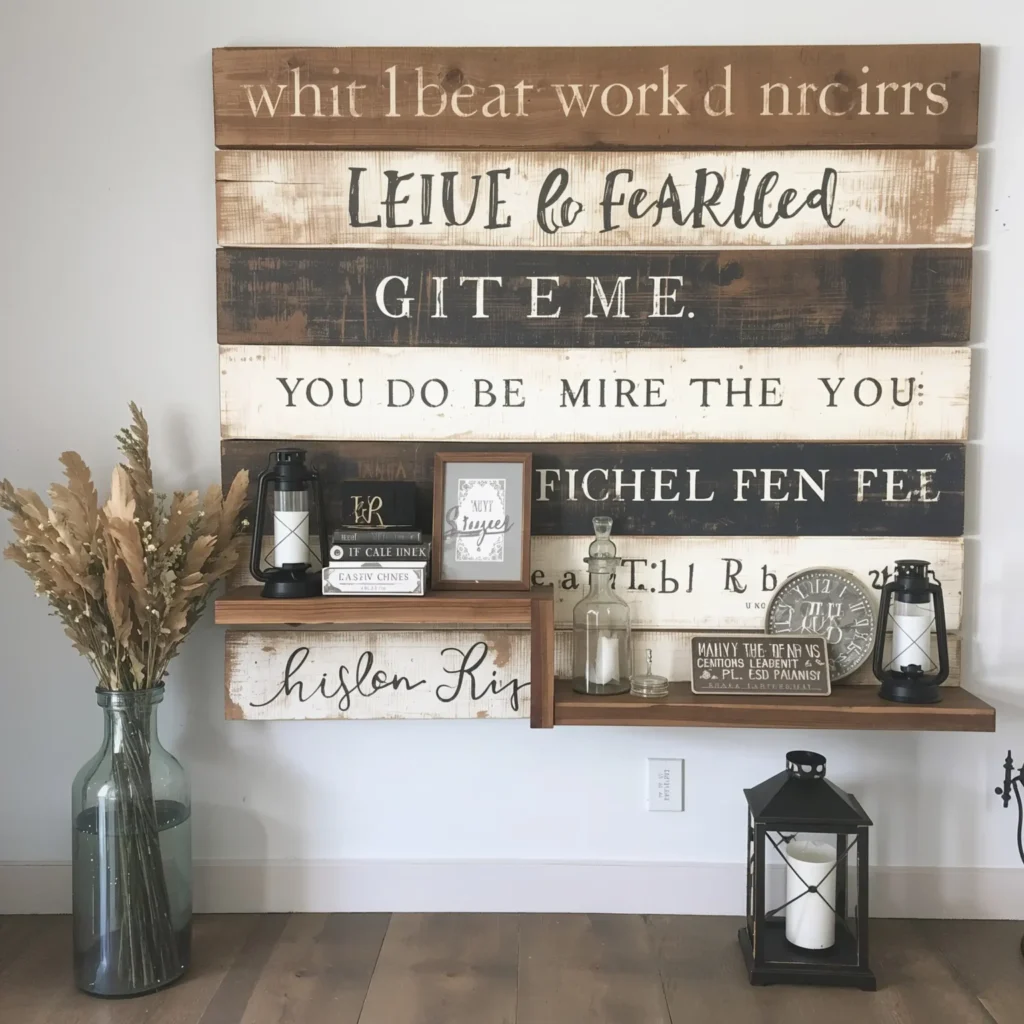
Natural wood slices — cross-sections of a tree branch that reveal the growth rings inside — make beautiful, organic wall art either individually or grouped in arrangements. Each slice is unique, which gives finished pieces a warmth and authenticity that manufactured decor cannot replicate.
Wood slices are available at craft stores, online marketplaces, and sometimes directly from tree services after pruning work. You can also cut your own from fallen branches using a saw.
Ways to Use Wood Slices on Walls
- Leave them natural (sanded smooth and sealed with matte varnish) for a pure organic look
- Paint geometric designs or watercolor washes on the face of each slice for a contemporary take
- Burn patterns into the surface using a wood-burning pen — botanical illustrations, geometric patterns, or simple abstract marks
- Write words or short quotes using a paint pen for a personalized piece
- Group slices in a cluster arrangement with varying sizes, drilling a small hanging hole in each
Pro Tip: Sand each wood slice through progressively finer sandpapers (80, 120, 180, 220 grit) before finishing for a silky surface that really showcases the wood grain. Finish with a satin or matte polyurethane to prevent cracking and preserve the natural color.
10. Create String Art
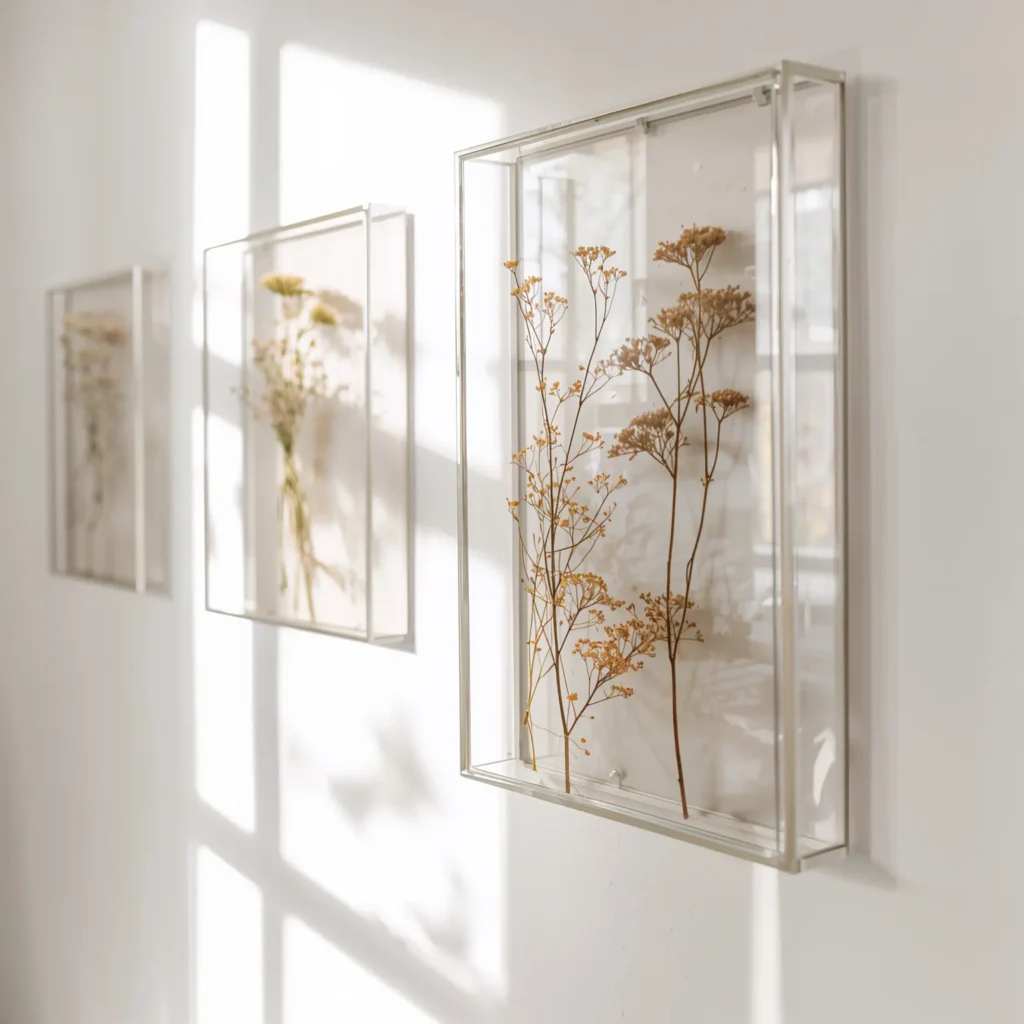
String art — patterns formed by wrapping colored thread or string around nails in a precise sequence — produces geometric designs of surprising mathematical elegance from very simple materials. The finished pieces have a graphic, contemporary quality that suits modern and eclectic interiors particularly well.
The most beginner-friendly string art patterns are simple geometric shapes: stars, hexagons, triangles, and the classic parabolic curve (which creates the illusion of a curve from only straight lines). More advanced patterns can form portraits, letters, and complex mandalas.
Basic Materials
- A piece of wood board (pine or MDF, painted or stained in the background color)
- Small finishing nails (panel pins), a hammer, and a pencil
- Embroidery floss or thin craft string in one or more colors
- A printed paper template of your chosen pattern
- Scissors and tape
Tape your paper template to the board, hammer nails at each marked point through the paper, then remove the paper. Wrap the string around the nails in the sequence dictated by the pattern, layering colors as you go. The finished piece is secured with a simple knot at the final nail.
11. Frame Beautiful Fabric as Wall Art
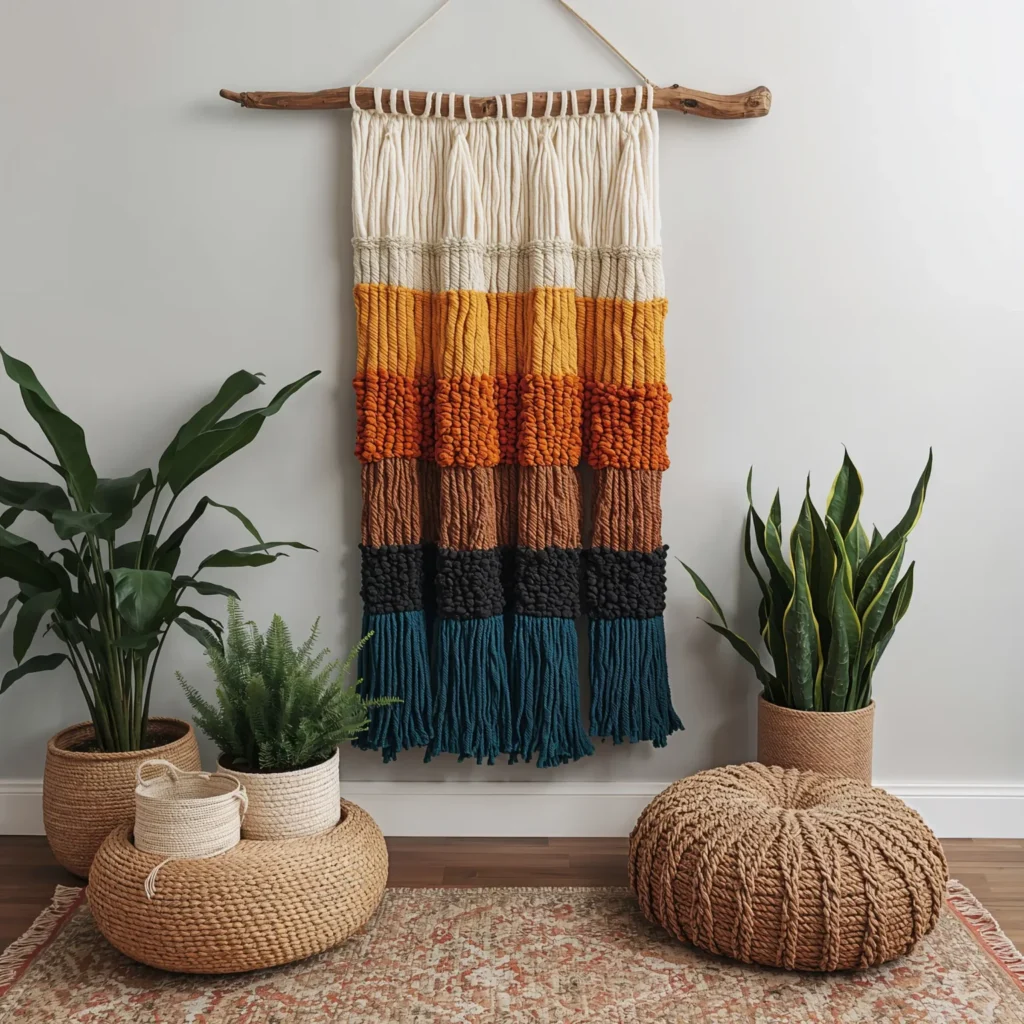
This is one of the most dramatically underestimated DIY wall decor ideas. A beautiful piece of fabric — a vintage textile, a block-printed cloth, a hand-dyed scarf, a section of kimono fabric, or even an interesting everyday fabric with a striking pattern — stretched over a canvas frame or mounted in a large frame becomes genuinely striking wall art.
The approach works for any fabric with visual interest: bold geometric African prints, delicate Indian block prints, abstract batik patterns, woven textiles with rich texture, or even a single large-scale botanical or animal print. The fabric does all the work — you just provide the frame.
Two Methods for Mounting Fabric
- Canvas stretcher bar method: purchase pre-cut canvas stretcher bars in the desired size, assemble the frame, and stretch the fabric over it as you would stretch a canvas, securing at the back with a staple gun. This creates a gallery-wrapped effect with no visible edges.
- Frame method: cut the fabric to fit inside a large picture frame (with or without glass), secure it to a piece of foam board or card stock cut to the frame backing size, and assemble the frame. This allows easy swapping of fabrics whenever you want a change.
Pro Tip: Look for fabric in unexpected places — the remnants section of fabric stores, thrift store curtains and tablecloths, secondhand scarves and wraps. Some of the most beautiful fabric art comes from textiles that were never intended as wall decor.
12. Build a DIY Slatted Wood Panel
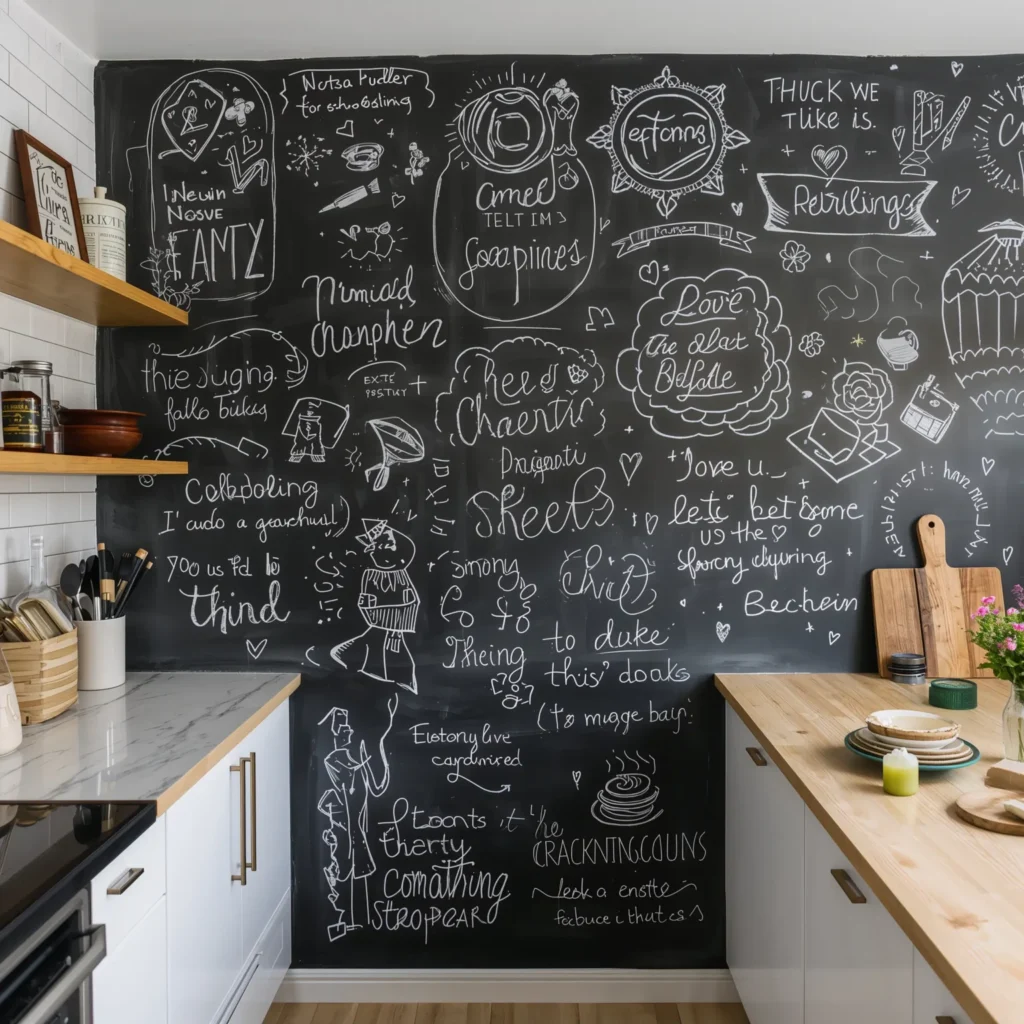
Slatted wood wall panels are one of the biggest interior design trends of 2025, and making your own is genuinely achievable for anyone comfortable with basic woodworking. The result — vertical or horizontal wood strips mounted evenly across a wall section — creates texture, warmth, and a sense of quiet luxury that transforms the space.
The simplest version uses pre-cut pine or poplar strips (available at hardware stores already milled to consistent dimensions), mounted on a backing board or directly to the wall with construction adhesive and finishing nails. More refined versions use hardwood species like walnut, oak, or ash, which cost more but produce extraordinary results.
Basic Construction Steps
Decide on your slat width and spacing — 1.5 inch slats with 0.75 inch gaps create a balanced, classic look. Measure your wall section and calculate how many slats you need.
Sand all slats to 180 grit and apply your chosen finish (stain, paint, or clear sealer) before mounting — it is much easier to finish the wood on a workbench than on the wall.
Mark level horizontal lines on the wall at your planned slat heights. Mount each slat with construction adhesive and two finishing nails at each stud location.
Fill any nail holes with matching wood filler once the adhesive has cured, sand smooth, and touch up the finish.
Pro Tip: Paint or stain the wall behind the slats a dark color — deep charcoal, navy, or forest green — before mounting the slats. The dark background visible in the gaps between slats creates a sense of depth that makes the panel look architectural rather than applied.
13. Add DIY Molding Panels to a Plain Wall
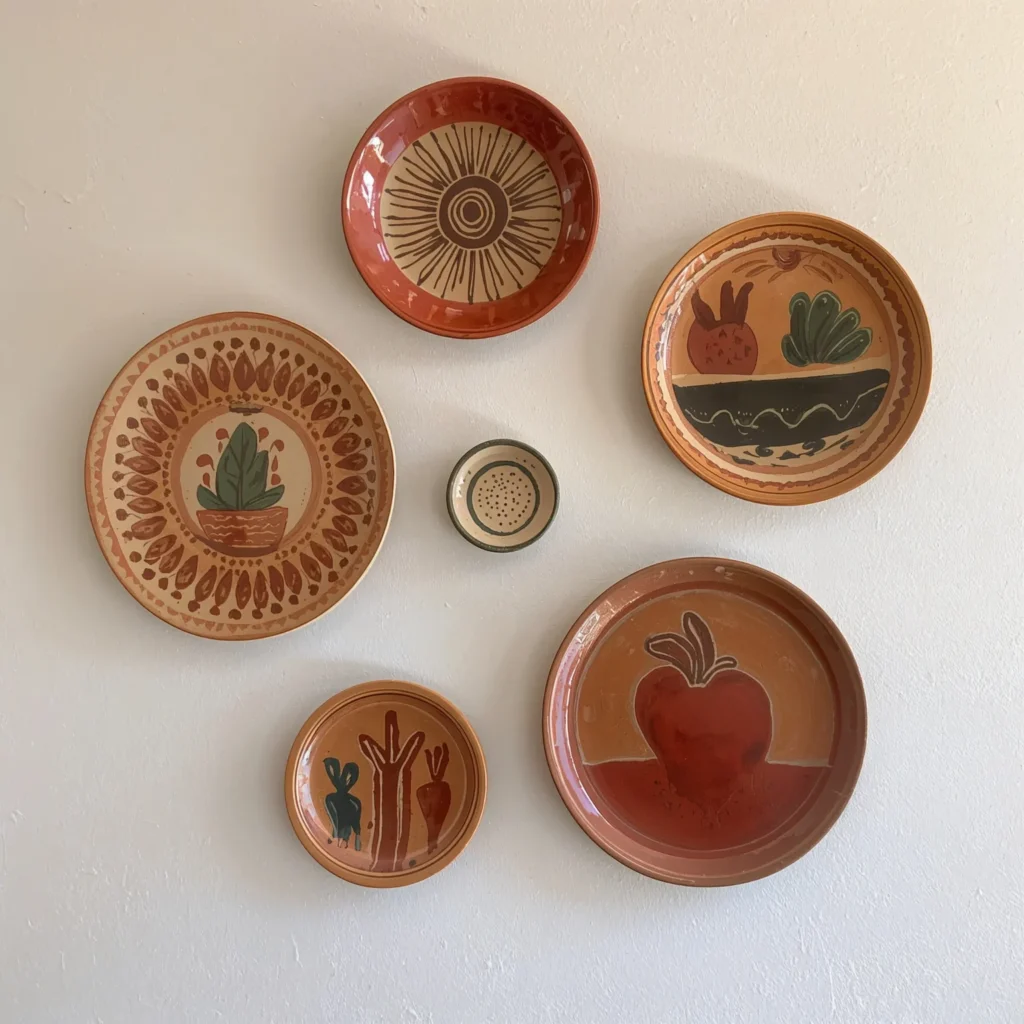
Architectural molding transforms a plain, flat wall into something that looks like it belongs in a Victorian townhouse, a New York brownstone, or a carefully restored period home. The technique involves applying thin strips of MDF molding to a wall in rectangular or square panel patterns, then painting everything the same color — a tone-on-tone effect that adds subtle dimension and sophistication.
The materials are inexpensive and widely available. Chair rail molding, picture rail molding, and simple rectangular strips of MDF — all found at any hardware store — are the basic building blocks. The investment is time and patience, not money.
Measure and mark your panel positions carefully before cutting anything. The visual impact of molding panels depends entirely on the precision of the geometry — panels that are slightly uneven or misaligned read as amateur rather than architectural. Use a level at every step and dry-fit all pieces before gluing.
Pro Tip: Paint the entire wall, including the molding, in the exact same color. The subtle shadow created by the raised molding profile gives all the dimension the design needs without requiring a color contrast. This tone-on-tone approach looks sophisticated and works in every room.
14. Create Air-Dry Clay Wall Art
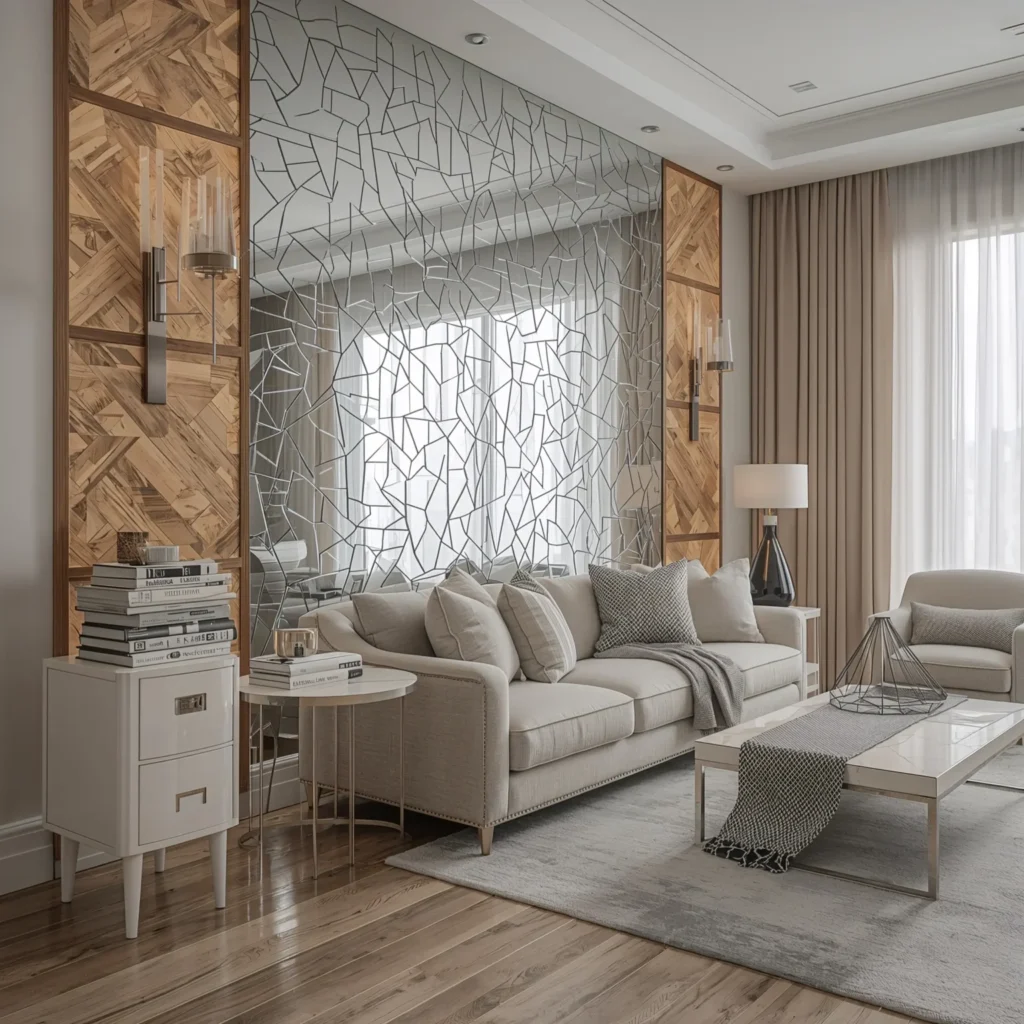
Air-dry clay is one of the most satisfying DIY materials available — it is inexpensive, requires no special equipment, and produces results that look genuinely handcrafted in the best possible sense. Clay wall art pieces — small sculptural tiles, organic textured discs, leaf impressions, or geometric shapes — have an artisanal quality that mass-produced decor simply cannot replicate.
The most popular DIY clay wall art formats are: small decorative tiles grouped in arrangements (inspired by handmade ceramics); organic round or oval discs with impressed textures created by pressing leaves, lace, or textured materials into the clay before drying; and small hanging ornaments in botanical or geometric shapes finished with paint and string.
Basic Process for Textured Clay Tiles
Roll air-dry clay to an even thickness of about half an inch. Cut into desired shapes using a sharp knife or cookie cutters. Press your chosen texture firmly into the clay surface — a fresh leaf, a piece of burlap, a comb, anything with an interesting surface pattern.
Make a small hole near the top of each piece for hanging while the clay is still wet, using a toothpick or straw.
Allow to dry completely (at least 24 to 48 hours), then paint with acrylic paint if desired, or leave natural for a pale, organic look. Seal with matte varnish to protect the surface.
Pro Tip: Slight warping during drying is normal with air-dry clay. Place a flat weight (like a cutting board) over the pieces while they dry if you need them to remain completely flat. Alternatively, lean into the organic shapes that result from natural drying — they often look more beautiful than perfectly flat pieces.
15. Try a Dip-Dyed Canvas
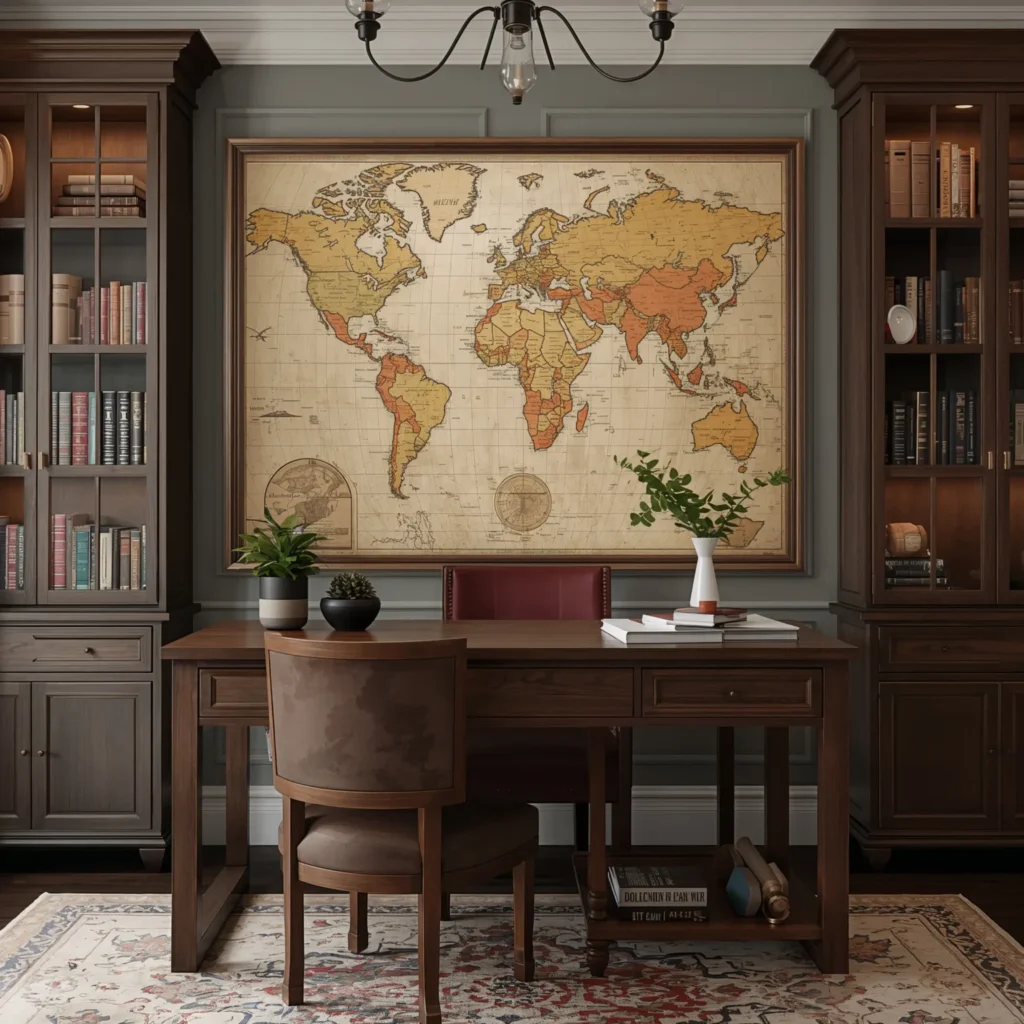
A dip-dyed canvas uses the ombre technique — a gradient that moves from one color to white, or between two colors — to create soft, atmospheric wall art that feels both contemporary and painterly. The process is remarkably simple: dilute fabric dye or watercolor paint, dip the canvas in progressively, and let the gradient form naturally.
The results are always slightly unpredictable, which is part of the appeal. No two dip-dyed canvases look exactly alike. The soft gradient edges, the subtle variations in color intensity, and the way the dye spreads and feathers at the transition point create a quality of surface that is genuinely difficult to achieve any other way.
For a contemporary take, try a two-color dip: dip one end in warm terracotta, the opposite end in dusty blue, and allow the colors to meet in the middle with a natural blend zone. Hang horizontally for a landscape feel or vertically for something more graphic.
A Beginner’s Guide to Getting Started with DIY Wall Decor
If you are new to DIY projects and feeling uncertain about where to begin, this section is for you. The biggest barrier to starting a DIY wall decor project is usually not skill — it is confidence. Here is how to build both.
Start With the Right Project
Choose a project that matches your actual current skill level, not your aspirational skill level. Projects 1, 2, 4, 5, 6, 7, 10, 11, and 15 on this list require no prior crafting experience — just materials, time, and a willingness to try. Start there, finish something, and then build on that foundation.
Gather Your Materials Before You Start
There is nothing more discouraging than having to stop halfway through a project because you are missing something. Read through the complete materials list before you begin, gather everything, and check you have it all before the first brush stroke or nail.
Give Yourself Permission to Iterate
First attempts at new techniques rarely look exactly like the inspirational images you have saved. That is normal and expected. Give yourself permission to practice, adjust, and redo. The second attempt almost always looks significantly better than the first — and the third better still.
Document and Celebrate Your Progress
Photograph your work at each stage. Review what worked and what you would do differently. Share with people you trust for honest feedback. And when something turns out well — celebrate it. Making things with your hands is a skill, and like all skills, it develops with practice and attention.
Final Thoughts: Your Walls Are Waiting
DIY wall decor is not about being crafty, artistic, or particularly skilled with your hands. It is about deciding that your walls deserve more than they currently have, and doing something about it. The twenty projects in this guide cover every skill level and every budget — from a five-dollar tape design that takes an hour, to a full-day slatted wood panel that transforms a room entirely.
The best project is not the most impressive one. It is the one you will actually do. Start there — with something achievable, something that excites you slightly more than it intimidates you — and see where it takes you. Make the abstract canvas. Hang the macramé. Build the gallery wall. Press the botanicals. Each project teaches you something about materials, about your own taste, and about what your home is becoming.
Blank walls are just walls waiting to become something. Pick one idea from this list, gather your materials, and start this weekend. Your walls — and the room they define — will thank you.
Frequently Asked Questions About DIY Wall Decor
What is the easiest DIY wall decor project for beginners?
The easiest projects on this list for complete beginners are the geometric tape design (requires only tape, a level, and patience), pressed and framed botanicals (requires only plants, heavy books, frames, and time), and framed fabric art (requires only a beautiful fabric and a frame). All three produce genuinely impressive results with no prior experience and very little investment.
How do I make DIY wall art look expensive?
The biggest factors that make DIY wall decor look expensive are scale, quality materials, and good framing. Go larger than feels comfortable — small pieces look timid and homemade. Use decent-quality materials: good canvas, real wood frames, quality paint. And frame everything properly — even simple artwork looks significantly more polished behind a well-chosen frame with proper matting. Consistency of finish is also important: one technique executed with confidence reads as a design choice; many half-finished techniques read as amateur.
What supplies do I need to start DIY wall decor?
A solid basic kit for most DIY wall decor projects includes: a set of acrylic paints in primary colors plus black and white, a few basic brushes in different sizes, a stretched canvas or two, a staple gun with staples, a level and pencil, painter’s tape, a stud finder, basic picture-hanging hardware, and a few large picture frames in different sizes. This starter kit costs approximately forty to sixty dollars and enables most of the beginner projects in this guide.
How do I hang things on walls without damaging them?
For renters or those concerned about wall damage, the best options are command strips (rated for significant weight when used correctly), washi tape for lightweight paper items, and adhesive hanging strips designed specifically for picture frames. For owned walls, a small nail hole for pictures under ten pounds is minimal damage easily repaired with a tiny amount of spackling paste. For heavier items, always anchor into studs using a stud finder for a secure, damage-free hold.
Can I do DIY wall decor in a rental apartment?
Absolutely. Most of the projects in this guide are either completely wall-damage-free (tape designs, leaned art, fabric hangings on tension rods) or require only small nail holes that are easily patched and repainted at move-out. Washi tape murals, fabric art, pressed botanicals, yarn weavings, and macramé all make excellent rental apartment wall decor. Just document any pre-existing wall damage before you start any project.
1 thought on “15 Trendy DIY Wall Decor Ideas for Beautiful Interiors”